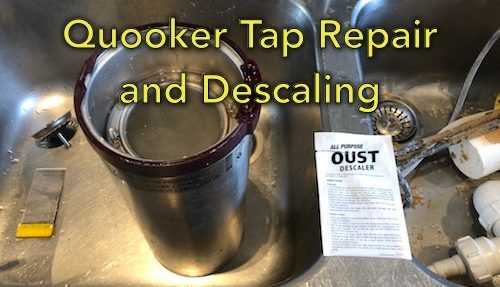
Quooker boiling water tap – how to descale, service and repair it
PLEASE NOTE: I do not offer Quooker servicing at the moment. This guide is to help you do the work yourself.
Quooker taps are a very convenient way to always have boiling water on demand. They contain a small tank that stores water at boiling temperatures. That creates an obvious problem in hard water areas – scaling.
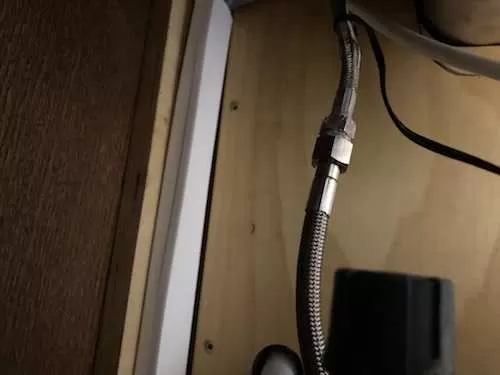
Today I will show you a typical repair to a Quooker tap that is suffering from leaks caused by heavy scaling. Quooker taps consist of a small hot water cylinder and a tap. The cylinder and the tap have their own flexible hoses (there are 2 hoses) connected by a compression fitting. It is very common for scaled cylinders to cause leaks on this very connection. When that happens it is time to order a service kit from Quooker. The service kit consists of:
- new immersion heater
- new activated carbon filter
- new flexible connector for the hot water cylinder
- tools required for servicing
- cleaning tool and cleaning pads
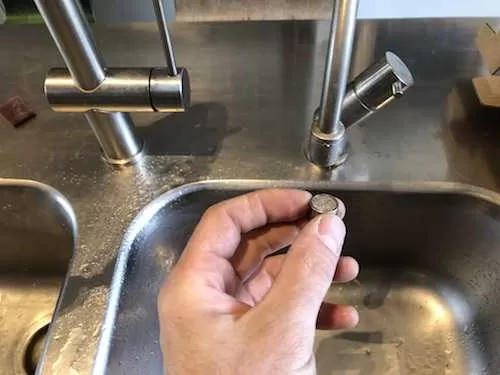
- new tap nozzle
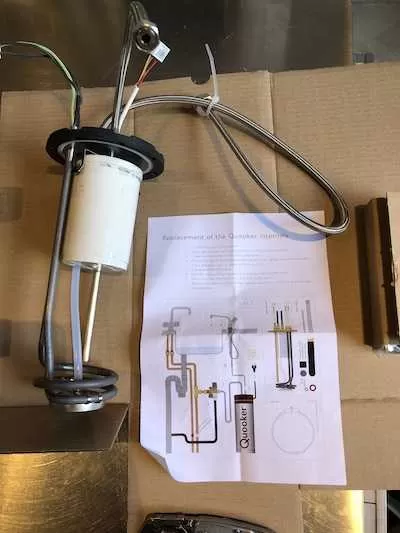
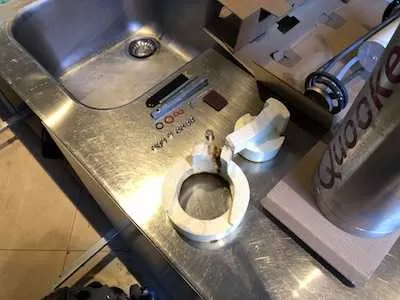
The picture below shows the immersion heater with filter, flexible connection hose, and installation manual:
Kit is also supplied with tools and cleaning pads required for the job as well as new nuts and nozzle for the tap:

Quooker tap servicing sequence
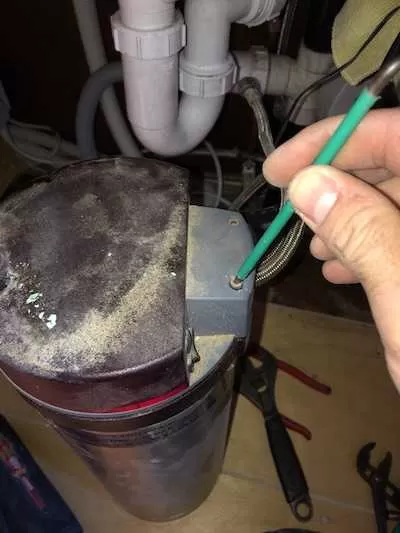
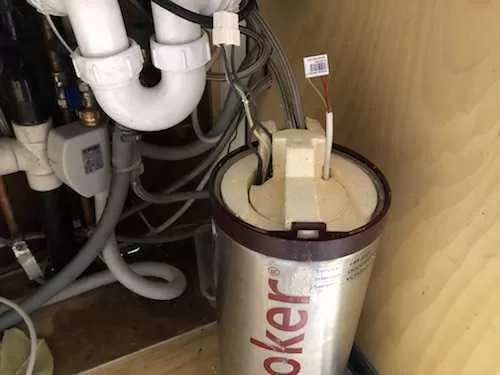
In our example, I am servicing a 12 years old Quooker Pro 3. We start by isolating power to the unit. The next step is to isolate the water supply and drain the tank from all pressure by opening the tap fully and waiting for it to stop releasing any water or steam.
The next step is to disconnect two flexible hoses between the cylinder and the tap followed by disconnecting the secondary power supply to the unit controls form DC adapter.
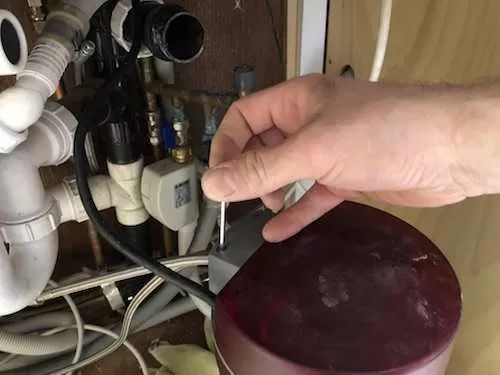
Once water is drained, the supply of water is isolated, the spur switch is turned off, and the supply from DC adapter is disconnected we can remove the unit from the bracket.
There are 2 hex screws that are located on the top of the unit. We need to undo those.
Put 2 screws aside and lift the top cover exposing insulation. Now we have to remove no.2 push-fit electrical connectors.
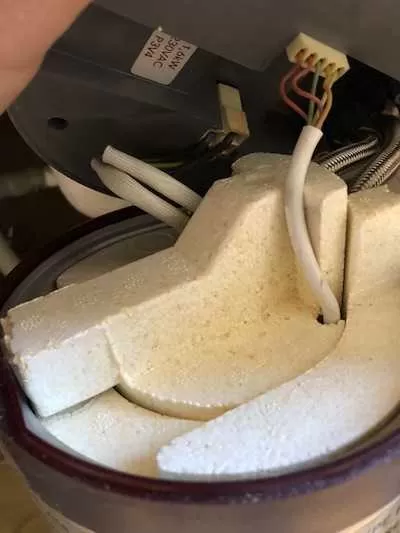
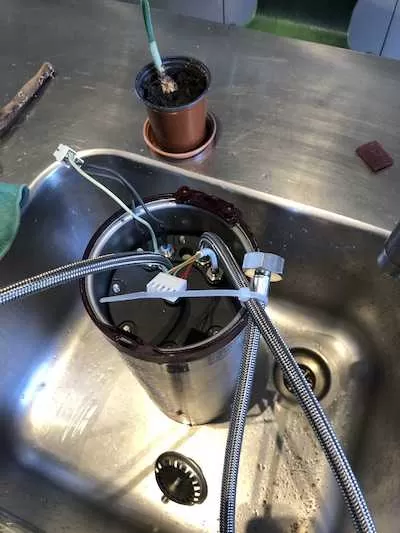
The image below shows electrical connections disconnected
Next, gently lift the insulation (it is 2 pieces of insulation) and put aside
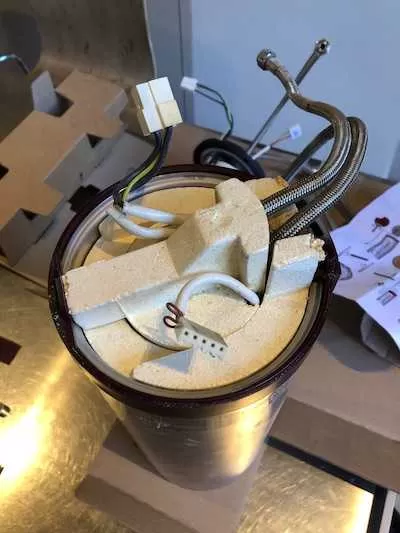
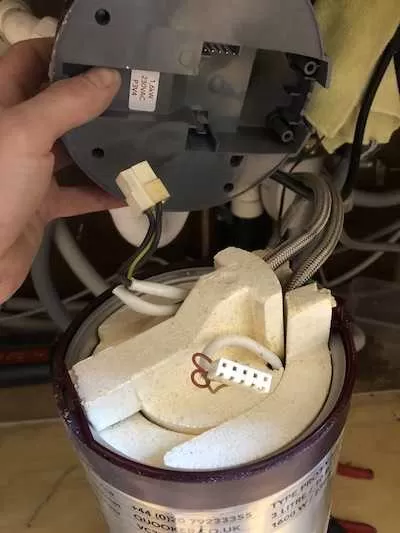
The picture below shows the Quooker cylinder with removed insulation and exposed nuts holding the immersion heater and water filter. The next step is to remove no.8 nuts with a supplied box spanner.
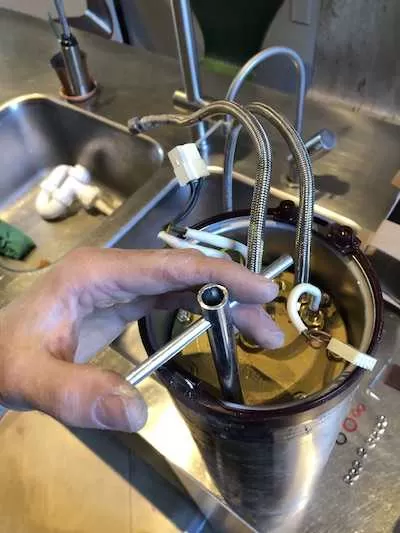
Once all nuts are removed they can be discarded as new ones are supplied. We are ready to gently lift the immersion heater and filter assembly out of the unit. Short video below shows that operation. This is when we find out the true extent of the scale problem with this unit.
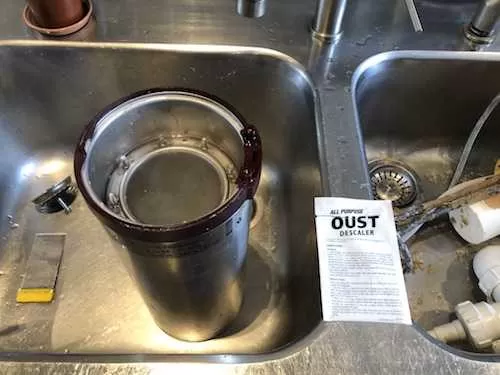
This is the amount of scale that fell out of the cylinder. There was still much more inside the unit that had to be scraped out!

The service kit is supplied with a tool designed to clean the edges of the cylinder so that the new seal makes good and watertight contact. Once the edges are clean it is time to boil some water and descale inside of the unit.
Flush the unit with water and now it is time to assemble the unit with new parts. It is very simple, just drop the new immersion heater assembly in, and tighten 8 new nuts to secure it in place. Put insulation back in place. Connect no.2 electrical connectors from the top plate. Screw to hex screws on the top plate. Now your unit is fully assembled and ready to go back on its bracket.
Re-do your water connection and the connection between the unit and the tap. Use new washers supplied with the service kit. Cylinder to tap connection below.
Now it is time to replace the boiling water tap nozzle.
Turn the water supply to the unit back on and test for leaks. Connect DC power supply to the back of the top plate. Turn power at the spur swith on.
You can now turn the boiling water tap on and drain it. Water will be black for a short while as it flushes through an activated carbon filter. Wait for the cylinder to get to the temperature (led on the tap will go off) and drain the tank again.
Your tap is now fully serviced, descaled, and ready for use.